Dairy-Free Vegan Vanilla Ice Cream

As summer comes to an end, ice cream is going out of season. I thought I would share this recipe, however, as soon as I got a chance. With this recent hot weather all over the U.S., I was inspired to share this recipe.

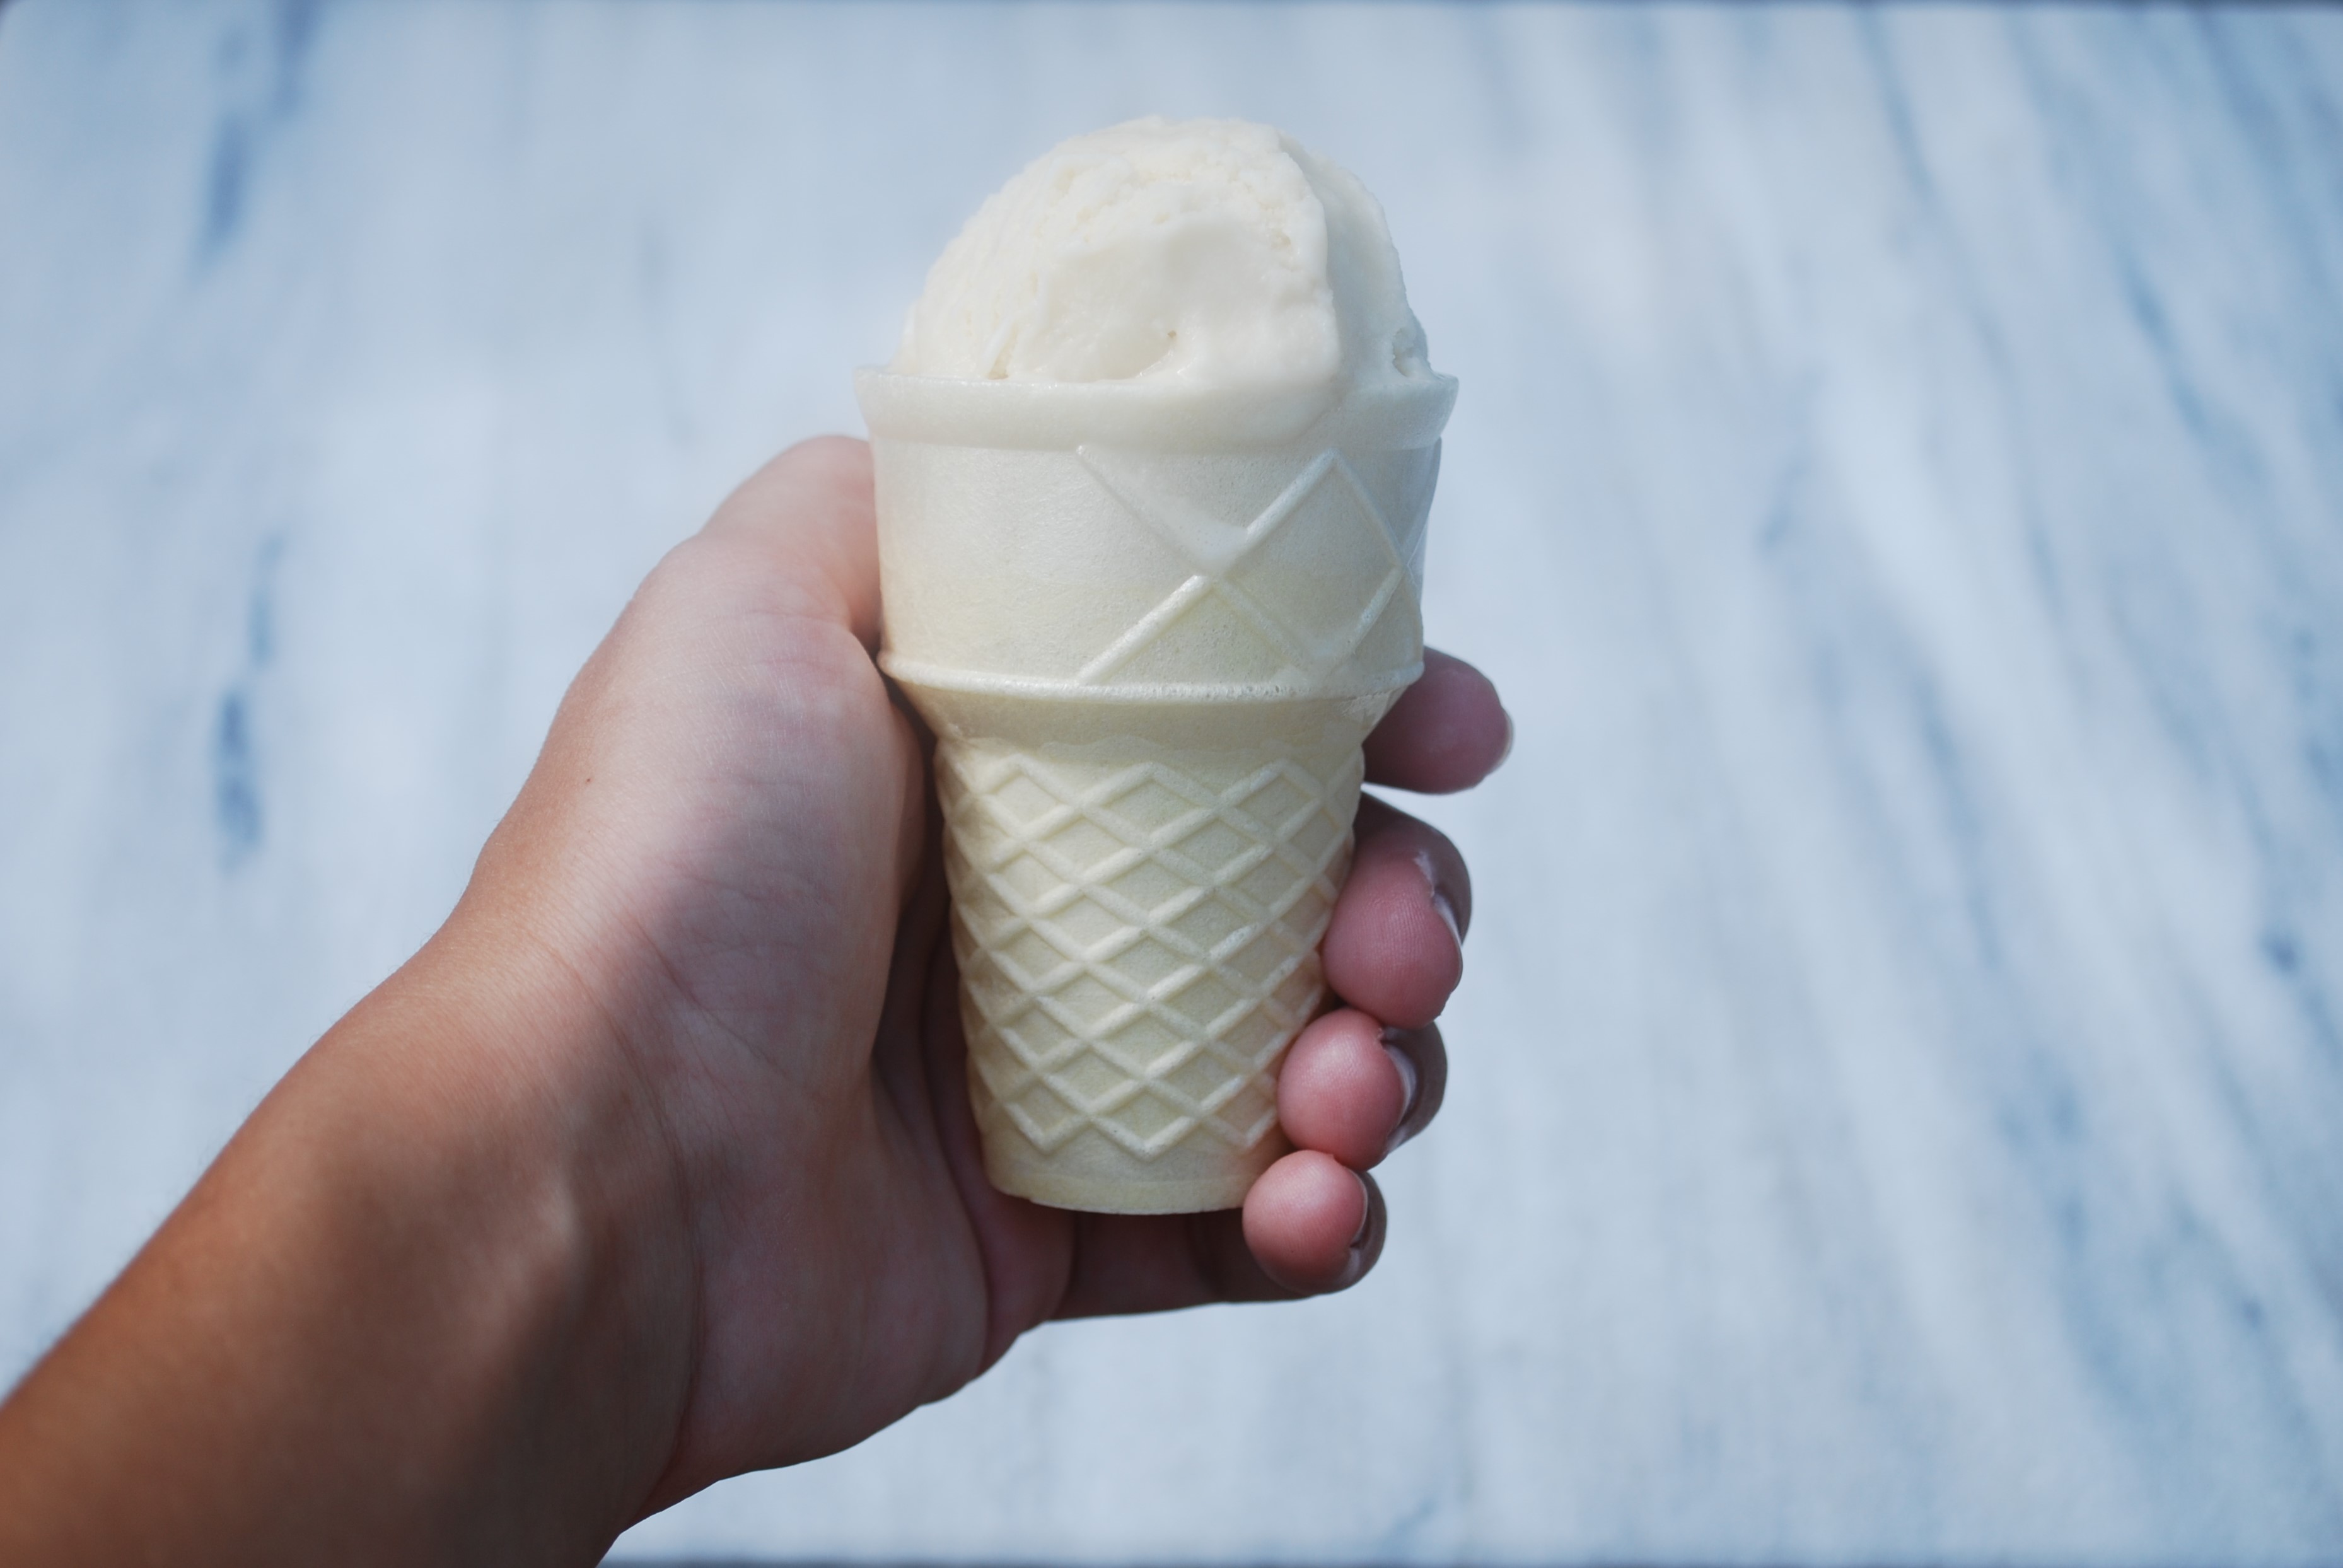
This creamy, light, dairy-free vanilla ice cream with a great texture is great end of the summer treat. Enjoyed best on an ice cream cone with sprinkles. 🙂
Here are a few tips to help your ice cream-making experience:
- I used an ice cream maker. If you don’t have one, I would encourage you to buy one. However, there are a lot of methods on the internet to make ice cream without a maker, so you could try one of those.
- I recommend a food processor over a blender, if you have one. This will make adding the oil a lot easier. When i was testing this recipe, I made the mistake of using a blender. I would add about 1/2 a tablespoon at a time, blend for 30 seconds, and repeat. Using a food processer was more convenient and took a lot less time.
- If you don’t have an ice cream container, you can line a loaf pan with parchment paper and secure it on the sides with binder clips.
Dairy-Free Vegan Vanilla Ice Cream
- Prep Time: 15 minutes
- Cook Time: 0 minutes
- Total Time: 40 minutes
Ingredients
- 3 cups original or vanilla soymilk
- 3/4 cup granulated sugar
- 1/2 cup oil (canola, vegetable, or coconut)
- 1/4 cup sweetener (pure maple syrup, honey, or light agave nectar)
- 1 tablespoon vanilla extract (or vanilla bean paste to make it vanilla bean ice cream)
- 1/4 teaspoon salt
Procedure
- Combine soymilk and sugar in a food processor or blender. Keep blending it until all of the sugar is dissolved, about a minute or two.
- Pour in the oil slowly. Add about half a tablespoon a time, and letting it emulsify property in between additions.
- Add sweetener, vanilla, and salt. Pulse for about 30 seconds to combine.
- Churn the ice cream in an ice cream maker according to your package instructions.
- Freeze the ice cream in a container for at least two hours.
- Enjoy!
Recipe inspired by Go Dairy Free Cookbook

